")

Ever wondered how to build a playlist that actually gets streams and saves?
I realized I’ve talked a lot around this topic — sharing wins, failures, and even launching a service that does it for artists — but I hadn’t yet walked you through an actual step-by-step, start-to-finish campaign setup.
So let’s fix that today.
We’re going full nuts-and-bolts. By the end, the hope is that you’ll know exactly how to set up ads to blow up your own playlist — without wasting money or punching your computer.
And if you’d prefer this in video form (which, in my opinion, is easier to follow), here’s the video version of this whole thing:
Otherwise, keep reading.
First: What We’re Aiming For
Here’s the goal: a playlist that not only exists but actually drives real streams and saves for your music.
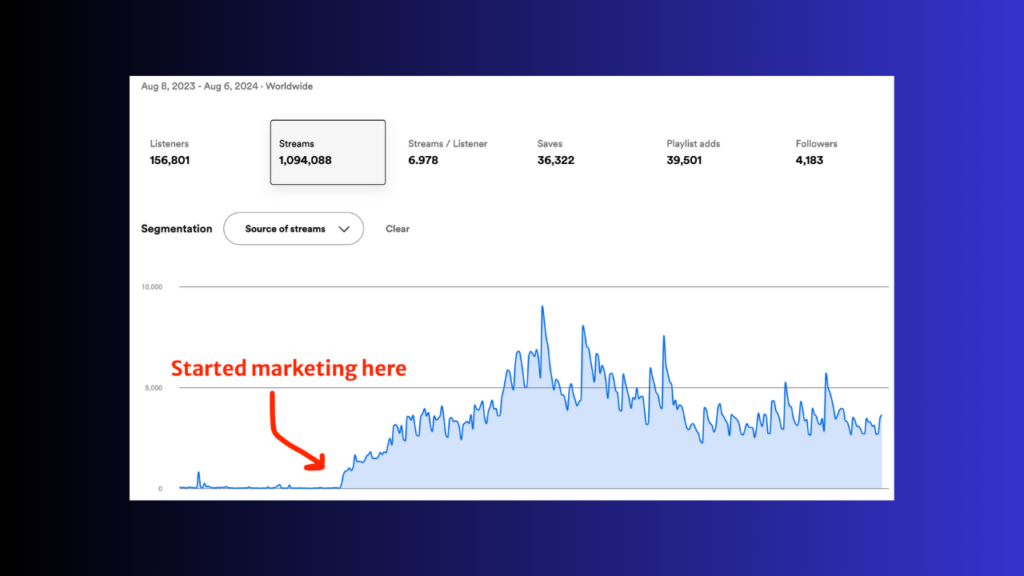
For context, here’s an example of one I’ve built over the last year:
Today, I’m starting fresh with a brand new playlist that currently (as of this writing) has zero saves. I’ll explain the exact process I’ll use to grow it, and you can check it out below to see how well it’s worked.
Step 1: Create Your Ad Campaign (Meta Ads Manager)
Inside Meta Ads Manager, here’s the exact setup I use:
- Campaign Objective: Engagement (manual setup, not Meta’s “tailored messages” nonsense)
- Budget: $5/day (you can adjust based on your goals)
- Advantage Campaign Budget: ON (meaning you set the budget at the campaign level)

Step 2: Build the Ad Set
Here’s the sauce at the ad set level:
- Conversion Location: Website
- Optimization Goal: View Content (yes, even for playlists)
- Pixel: Make sure you’re using the correct Meta pixel!
- Dynamic Creative: ON (lets you upload multiple videos + text options)

Audience Settings:
- Age Range: 18-64
- Countries: Tier 1 + Tier 2 (no interest targeting — trust the algorithm)
- Placements: Manual — Instagram only (Feed, Stories, Reels)

Step 3: Upload Your Ad Creatives
Keep it simple. Seriously.
I use three basic video types:
- Screen recording scrolling through the playlist
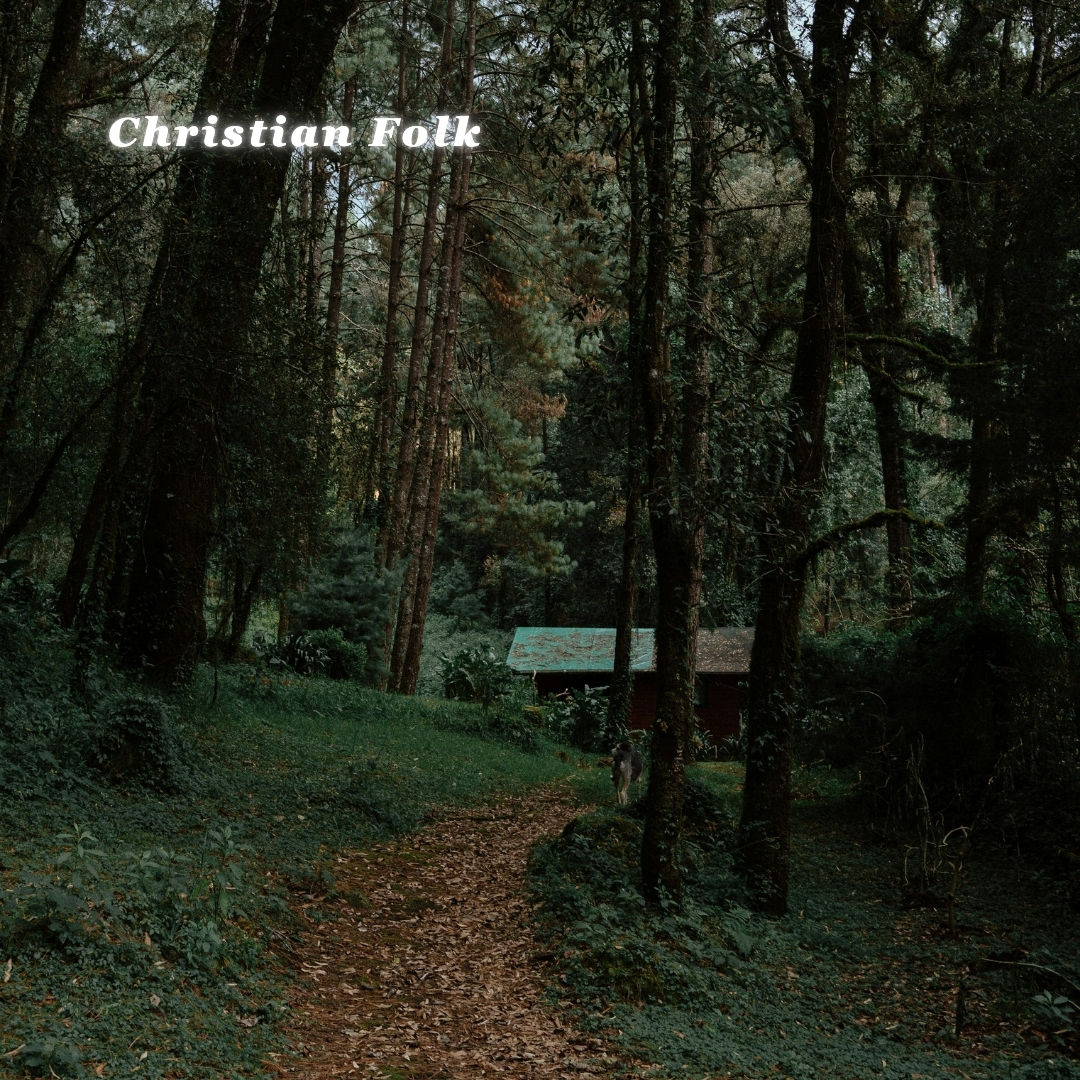
- Short genre/vibe callout (“Do you like Christian folk music? Here’s a playlist for you.”)
- Quick visual of the playlist cover art with light movement
All three feature my song playing quietly in the background.
Over-the-top “cool” ads usually lose to boring screen recordings. Why?
Because people know exactly what they’re clicking on.
Step 4: Create a Landing Page (Free + Easy)
To track your clicks properly, you need a quick landing page between the ad and Spotify. I use SubmitHub Links — it’s free and fast.
- Paste your playlist Spotify URL.
- Add your Meta pixel.
- Set it to “dark theme” (looks better IMO).
- Save and grab the landing page link.

Step 5: Finish the Ad Setup
Back inside Ads Manager:
- Primary Text: Something direct (“Christian folk music – we made a playlist for you.”)
- Headline: Mention Spotify.
- Display URL: spotify.com
- CTA Button: “Listen Now”
Boom. Submit it for review. You’re officially running ads to your playlist.
Bonus: How to Make Your Playlist So That People Actually Follow
You can build the world’s most expensive ad campaign… but if your playlist sucks? No one’s following it.
Here’s how to make it “followable”:
1. Pick a Clear Genre/Vibe
People need to immediately understand the point of your playlist. Think:
- Genre (Christian Folk, Indie Pop)
- Vibe (Rainy Fall Folk, Chill Worship)
Not “Songs I Like Vol. 3”. Nobody knows what that means.
2. Write a Useful Description
Mention other popular artists they might know (“If you like Noah Kahan, you’ll like this”). Also, tell people to follow it for updates.
3. Stack Popular Songs at the Top
Lead with recognizable songs. It builds trust fast.
4. 50-100 Songs = Sweet Spot
- Less than 20 = mixtape vibes.
- More than 200 = overwhelming blob of sound.
50-ish gives you legit curation without overwhelming listeners.
5. Use Clean Cover Art
Find a nice photo on Unsplash. Crop it square. Done.
Don’t over-design unless you’re an actual designer.
Final Thoughts
Setting up a playlist ad campaign isn’t magic — it’s a simple, repeatable process. I’ve used it to build playlists that drive thousands of streams every month for my own music.
You can totally do this yourself. But if you don’t want to mess with Meta’s occasional meltdown moments, I also run this as a done-for-you service. (Shameless plug.)
Either way — whether DIY or with help — this is one of the highest ROI strategies for indie artists right now. I hope this walkthrough helps you actually use it.
As always, cheering you on. Good luck, and you got this.